A mechanical keyboard is an excellent investment for those who want a better typing experience. These keyboards have tactile feedback and are durable, which means they can last for years. However, there comes a time when the keys need to be cleaned or replaced. This can be a challenge if you don’t have the right tool for the job. Fortunately, there are some methods you can use to remove the keys without a tool. In this article, we will discuss how to remove mechanical keyboard keys without a tool.
Method 1: Using Your Fingers
The first method is the most straightforward and requires no tools. It involves using your fingers to remove the keys from your mechanical keyboard. Here are the steps:
Step 1: Locate the Key
The first step is to locate the key that you want to remove. This is usually easy, as the keys on mechanical keyboards are all the same size and shape. Look for the key that is dirty or needs to be replaced.
Step 2: Grab the Key
Once you have located the key, use your thumb and index finger to grasp the top of the keycap. Be sure to grip it firmly, but not too hard.
Step 3: Pull Up
Next, pull up on the keycap while keeping a firm grip on it. If the key doesn’t come off easily, wiggle it back and forth until it pops off.
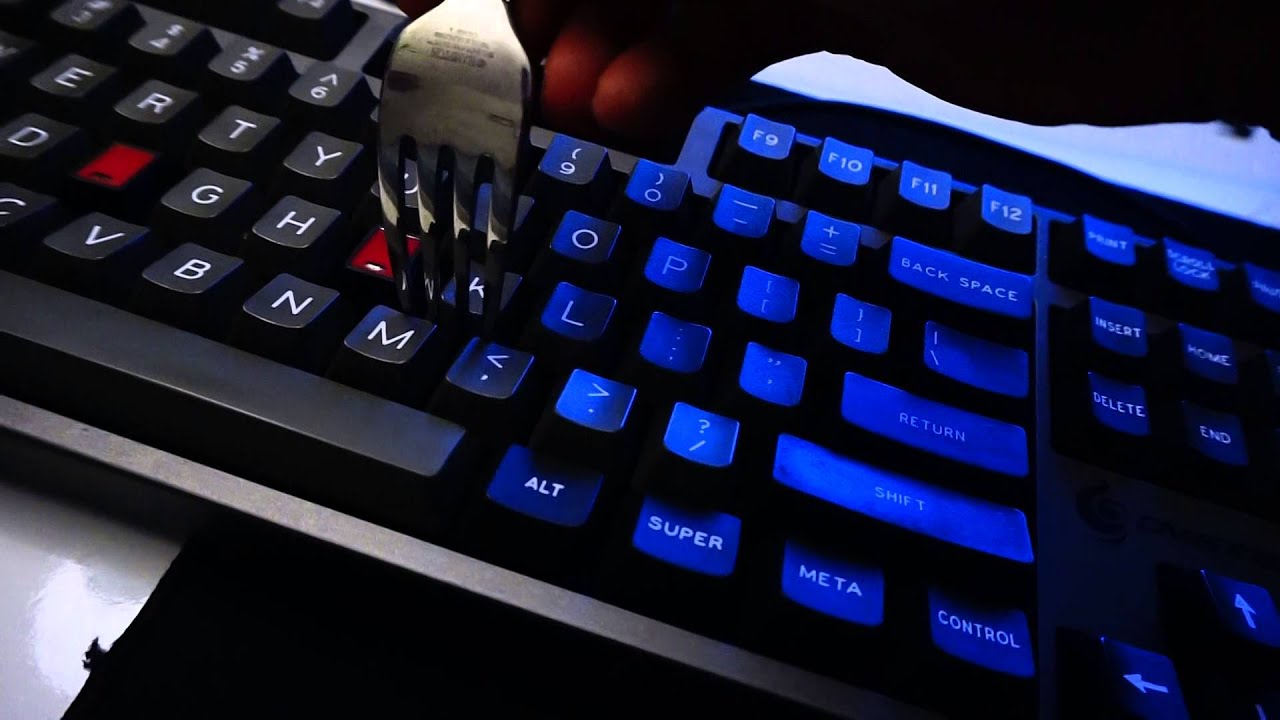
Method 2: Using a Wire Keycap Puller
If you have a wire keycap puller, removing the keys from your mechanical keyboard becomes even easier. Here’s how to do it:
Step 1: Insert the Puller
Insert the wire keycap puller underneath the keycap you want to remove. Make sure the puller is centered over the stem of the key.
Step 2: Pull Up
Once the puller is in place, gently pull up on the keycap. If the key doesn’t come off easily, wiggle it back and forth until it pops off.
Method 3: Using a Plastic Card
If you don’t have a wire keycap puller, you can use a plastic card instead. Here’s how to do it:
Step 1: Insert the Card
Insert the plastic card underneath the keycap you want to remove. Make sure the card is centered over the stem of the key.
Step 2: Twist the Card
Once the card is in place, twist it back and forth while pulling up on the keycap. This should loosen the keycap from the stem.
Step 3: Pull Up
Finally, pull up on the keycap while continuing to twist the card. The keycap should pop off easily.
Safety Precautions
Before you start removing keys from your mechanical keyboard, it’s important to take some safety precautions. Here are a few things to keep in mind:
Turn off the Keyboard
Before you start removing keys, turn off your keyboard. This will help prevent accidental keystrokes.
Work in a Well-Lit Area
Make sure you are working in a well-lit area so you can see what you’re doing. This will help prevent damage to your keyboard.
Be Gentle
When removing keys, be gentle. Don’t use too much force, as this can damage the keyboard.
Keep Your Keyboard Clean
To prevent the keys from getting stuck or dirty, it’s important to keep your keyboard clean. Use a can of compressed air to blow out any debris that may be trapped underneath the keys.
Mechanical keyboards are popular for their tactile feedback and durability. However, over time, the keys can become dirty or damaged, and it is necessary to remove them for cleaning or replacement. If you don’t have a tool for this task, there are several methods you can use to remove mechanical keyboard keys without a tool. The first method involves using your fingers, while the second and third methods involve using a wire keycap puller or a plastic card.
Method 1 requires the least effort and is the simplest. It involves using your fingers to pull up the keycap, which can be wiggled back and forth if it doesn’t come off easily. Method 2 involves using a wire keycap puller that is inserted underneath the keycap and pulled up. The wire keycap puller ensures that the keycap is centered over the stem of the key, making it easy to remove. Method 3 involves using a plastic card that is inserted underneath the keycap, twisted back and forth, and then pulled up. This method can be useful if you don’t have a wire keycap puller.
Removing keycaps from a mechanical keyboard is an essential step for cleaning or replacing them. Keycap pullers are often used for this task, but they can be costly or hard to find. Fortunately, there are alternative methods to remove mechanical keyboard keys without using a specialized tool. The most common method is using a wire keycap puller that can be made at home by bending a paperclip or a wire hanger. By inserting the wire puller into the gap between the keycap and the keyboard, and applying an upward force, the keycap can be easily removed. Another method is using a plastic card or a credit card to gently lift the keycap from the switch. This method is ideal for removing larger keycaps such as the spacebar, shift, or enter key.
It’s important to be careful when removing keycaps to avoid damaging the switch or the keycap itself. If excessive force is applied or the keycap is pulled at an angle, it can break the stem of the switch or snap the keycap. After removing the keycaps, the keyboard and the keycaps can be cleaned, lubed, or replaced. To reattach the keycaps, align the stem with the switch and press down gently. If a keycap feels loose or wobbly, it may be necessary to check the stem or the switch for damage.
Final Thoughts, removing mechanical keyboard keys without a tool is possible, and there are several methods you can use. Whether you use your fingers, a wire keycap puller, or a plastic card, it’s important to take safety precautions to avoid damaging your keyboard. Turning off the keyboard before you start, working in a well-lit area, being gentle, and keeping your keyboard clean are some of the safety measures you can take. With these methods and precautions, you can remove mechanical keyboard keys without a tool and keep your keyboard in good condition.